Adam, one of the gardeners in the Idea Garden whose domain includes the cozy greenhouse, had all the supplies laid out and ready to go: cell packs, seedlings, labels, flats, etc.

Seeds are sown in trays and labeled with the plant name, sow date, location in the garden where the plants will be used, and the number of transplants needed. When the seedlings are transplanted into cell packs, the label is copied and a new label placed in each transplanted flat.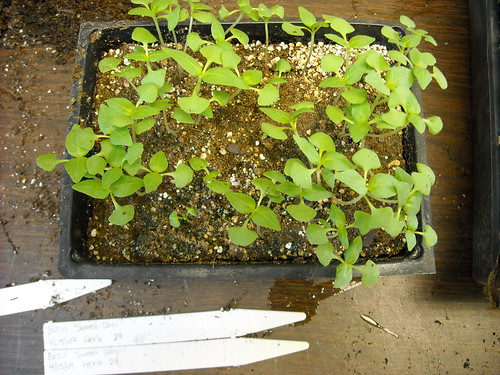
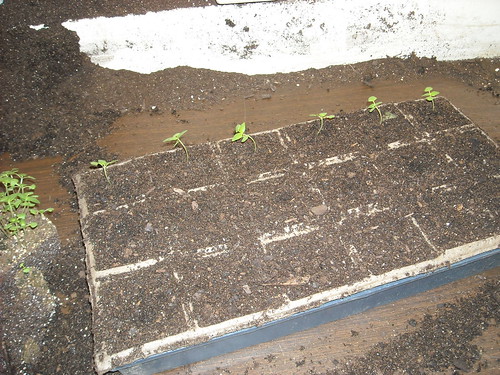
The next step is to turn out the seedlings and gently tease them apart. The cell packs are filled with moist planting mix and lightly pressed - careful not to compact too much, but not left too fluffy or the soil will wash out when the plants are watered in. You also want good root-soil contact so the new roots will take in much needed water and nutrients without crushing them.
Each seedling is handled by the leaves - you don't want to pinch the stems or you will run the risk of crushing the xylem and phloem (the plant's 'arteries' that carry water and nutrients to the plant tissues) and damaging or killing the little seedling. By gently grasping one of the leaves, the risk of damage in minimized. If one of the leaves is accidentally torn or breaks off, there are others that will continue the process of photosynthesis and the plant will grow.
Since I didn't have my dibber to hand, I used a small twig (a chop stick would work just as well, or a size 6 knitting needle, maybe!) to make holes in the cells and placed one seedling in each hole (cell), ever so gently coaxing the roots down deep and prodding the soil back around the seedling's stem.
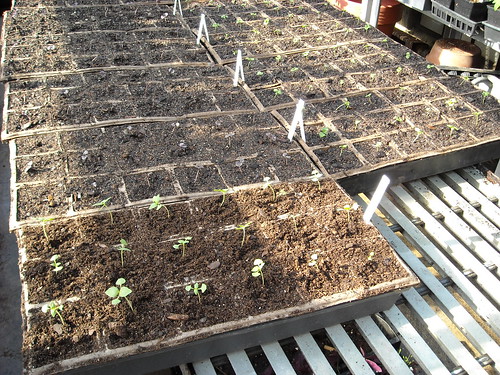
 As I finished a row, I'd make the holes in the next and tease in more seedlings. The smell of the tiny basil plants made my mouth water!
As each flat was filled, it was placed in the greenhouse and watered. If desired, a water soluble fertilizer can be used at this point. The hose had a rose with a fine spray so as not to batter the delicate seedlings into the soil. In a few weeks, each little seedling will have grown large enough to be transplanted into the garden.
 To me, this was a very soothing and enjoyable job. To see the flats of new baby plants, knowing that soon they would add their herbal scent to the garden (and later their flavor to a nice pesto, perhaps!) was immensely satisfying. And the best part: I got to keep the extras for my own garden!

To me, this was a very soothing and enjoyable job. To see the flats of new baby plants, knowing that soon they would add their herbal scent to the garden (and later their flavor to a nice pesto, perhaps!) was immensely satisfying. And the best part: I got to keep the extras for my own garden!


No comments:
Post a Comment